
If you’re like me, there is a lot of happy anticipation when I get a new candle. I’m looking forward to burning it, smelling its wonderful scents and enjoying the cosy comfort of the warm candlelight. So it can be disappointing when you finally light it only to have it tunnel, burn unevenly, or lose its scent too quickly. If you’ve experienced this, you’re not alone—but the good news is that most candle problems are completely avoidable with a few simple tips and tricks.
Learning how to burn your candle properly will give you the most enjoyment and longevity from every candle.
Why It’s Important to Burn a Candle the Right Way
In the olden days, or during a power cut, candles were used to provide light but they can do so much more. They can be a beautiful piece of home decor, elevating your space and helping to create a wonderful atmosphere. Their scent can help change your mood and the feel of your whole home. However, if burned incorrectly even the best candle in the world will underperform. Getting the burn right will give you a clean, even burn with a much stronger scent throw. Your candle will also last much longer and you will have less wasted wax at the end.
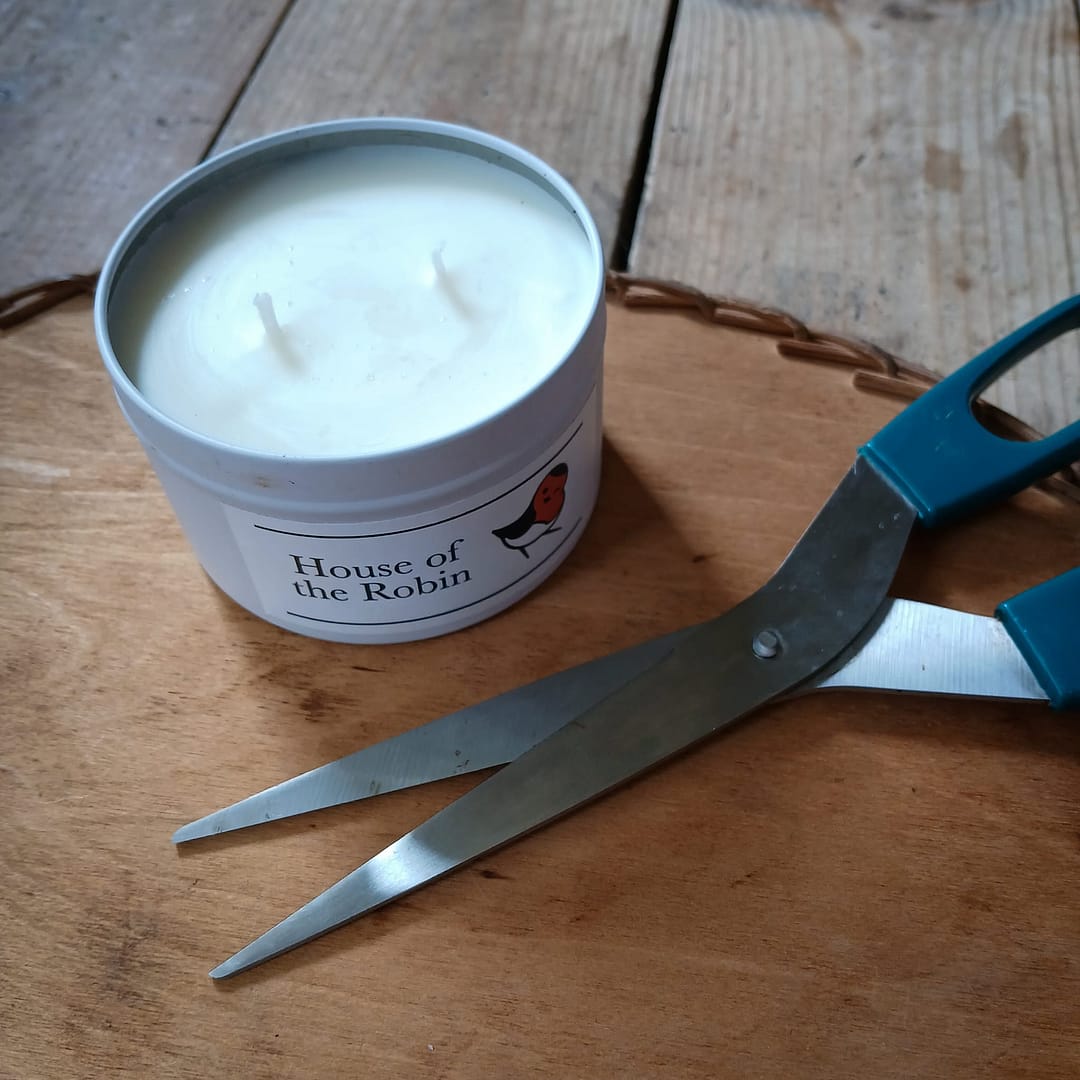
Trim the Wick Before Every Burn
Candles are designed to burn with a wick that is about 1/4 inch when first lit. The candle maker has carefully tested to ensure the best burn with this as a starting point. So, trimming to the correct length before lighting your candle will help prevent mushrooming (that’s when you get a black ball at the tip), reduce soot, and give you a nice steady flame. You can do this using scissors or dedicated wick trimmers.
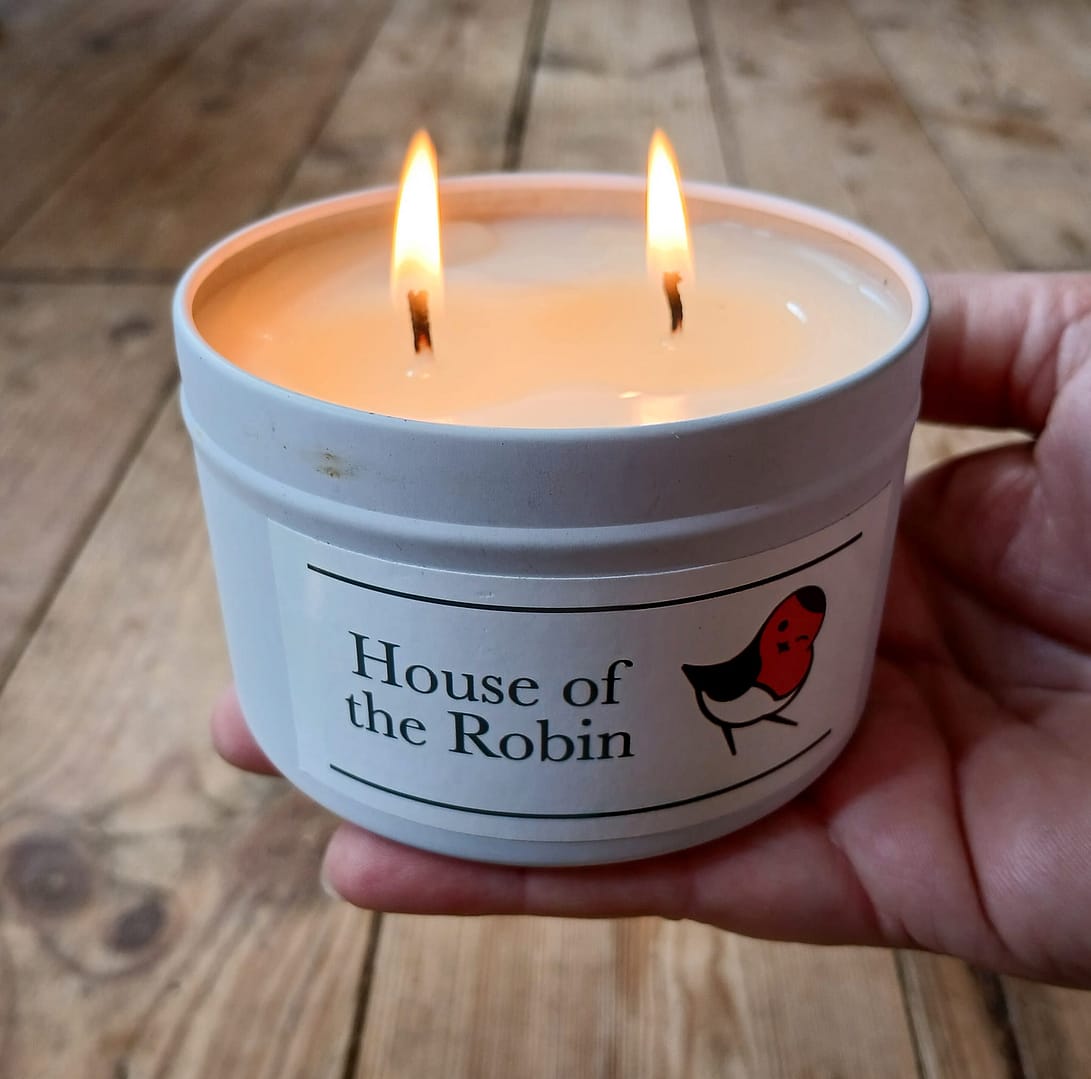
Burn for the Right Amount of Time
How long you burn your candle will impact how well it burns and the total number of hours it will burn. A good rule of thumb is to aim to burn it for no longer than 4 hours. You still need to burn it long enough for the wax pool to reach the side, but burning it for too long can lead to the vessel overheating. Aim to burn your candle for 1–4 hours at a time.
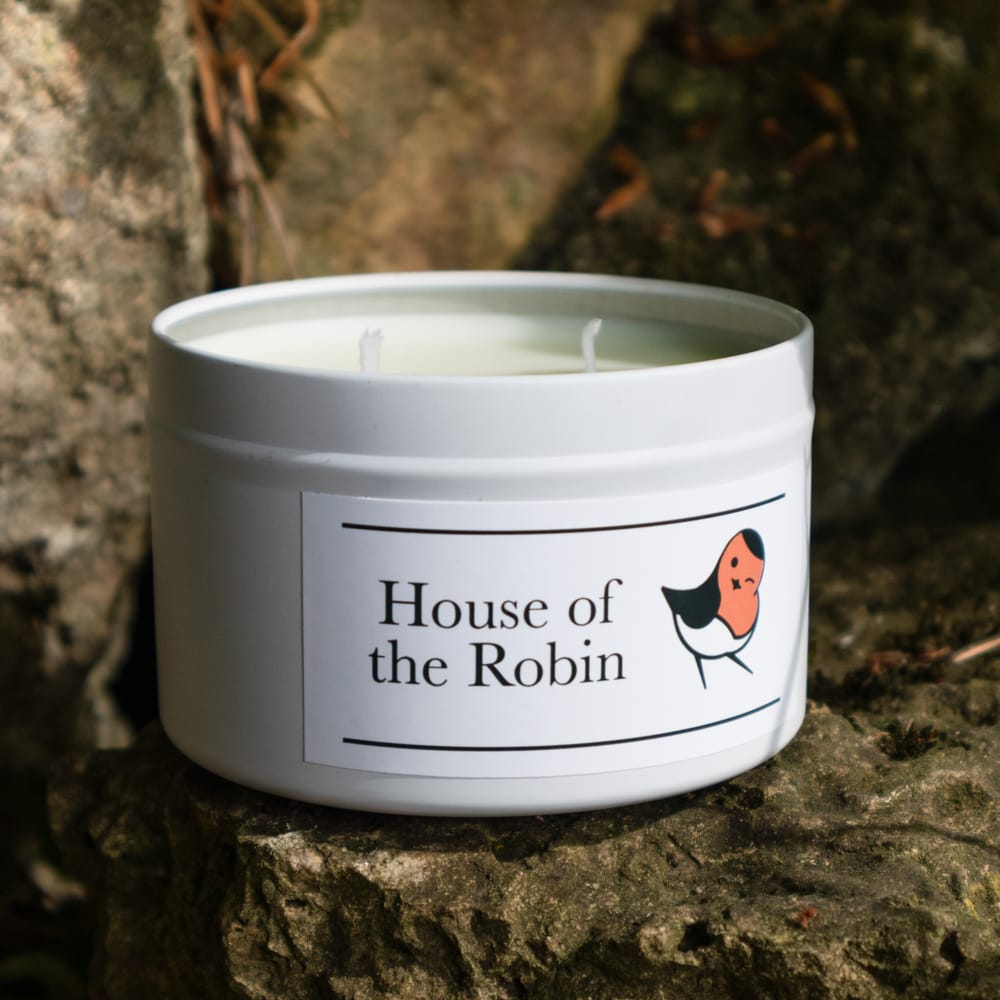
Allow the Wax Pool to Reach the Edges of the Container
Let the melted wax reach the sides of the jar. This can take 1–2 hours depending on the candle size. If you skip this step, your candle may tunnel, wasting wax and shortening burn time. This is especially true the first time that you burn your candle but it is good practice every time you light your candle.
Only Move Your Candle When The Wax is Cool
After you blow out your candle always wait until the wax has solidified before you move it. This helps to make sure the wick stays in position ready for the next burn.
Keep Away from Drafts
Where you place your candle is important from an aesthetic point of view and also to help promote a safe even burn. Drafts and breezes can cause uneven burning, flicking flames, and production of soot. It can even cause your candle to burn faster shortening it’s life.

Burning your candle properly is easy once you know the basics — and it makes all the difference. Whether you’re relaxing at home or setting the mood for a special night, a well-cared-for candle will always deliver.
Ready to experience the difference? Explore our handcrafted candles here.
Comments are closed